|
If you're one of the people who love traveling and vacationing with their motorcycles, then you probably understand how important it is to have enough luggage space to bring all of your belongings for the best experience possible. As far as luggage for motorcycles goes, saddlebags are probably the most common and popular solution available in today's market. But buying a saddlebag isn't a matter of finding the first one you come across and buying it. There are a couple of important factors to consider in order to get the best saddlebag possible. Saddlebags are so common that many motorcycle manufacturers offer them as OEM equipment. They have a large carrying capacity, but they don't upset the bike's center of gravity and are out of the way of the riders. Saddlebags are broken down into two sub-categories: soft bags and hard bags. The soft models feature a semi-rigid construction and are typically made of nylon, leather, textile or a mix of flexible materials. Hard bags, on the other hand, are made of molded plastic, aluminium or fiberglass. 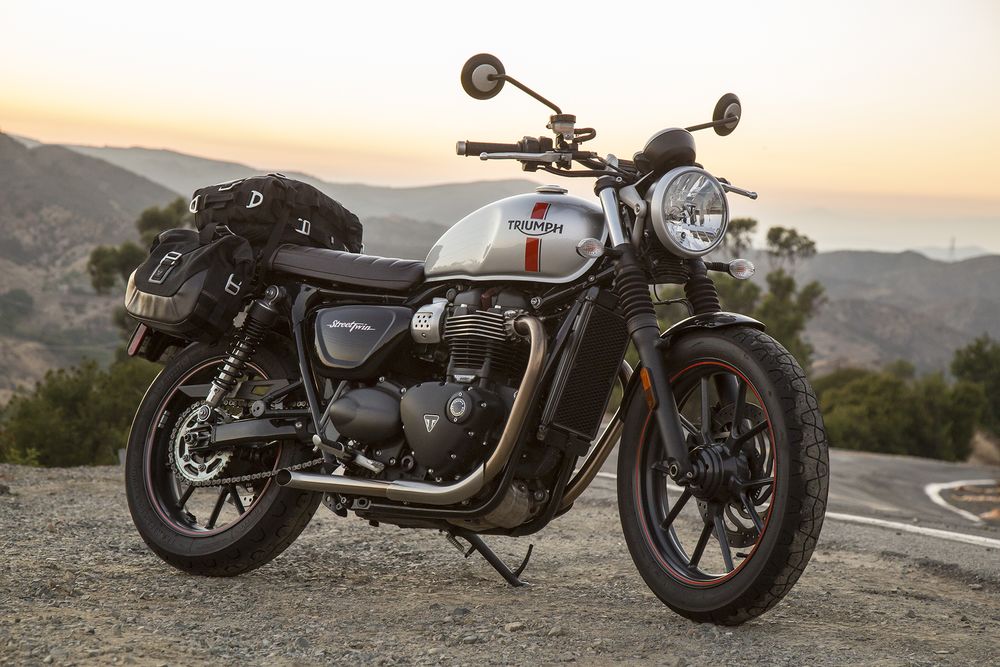 Regardless of the type of saddlebag you go for, consider it's lockability. Having a saddlebag that you can lock will give you peace of mind that all of your belongings are safely locked whenever you leave your bike. Additionally, you need to consider the mounting hardware, which is the case not just for saddlebags, but for all luggage for motorcycles. Installing the saddlebag without hardware is a bad idea and something you should never do. The mounting hardware is usually the responsibility of the saddlebag vendor, although there are some vendors that don't provide it.
Moreover, you should look for a saddlebag that has quick release buckles. Opening a large bag repeatedly isn't the easiest thing in the world, and it can get annoying after a while. Quick release buckles give you easy, quick access to your belongings. Further, consider the enforcement. For those who don't know what this means, the saddlebag you get should be reinforced to metal frame to prevent the main material from sagging. This is especially important if the saddlebag is made of leather. As far as saddlebags go, you'll come across universal models that fit every type of motorcycle under the sun, as well as model and make specific saddlebags that can only be installed on the bike's they're made for. The latter are usually manufactured by the same manufacturer that made the bike, whereas universal models are made by aftermarket manufacturers.
0 Comments
Learning how to maintain and repair your own bike can take you a long way, but not everyone has the time and will to learn. However, knowing how to perform some basic maintenance and repairs tasks like changing the tyres can be extremely beneficial when you're out on the road, so that you aren't left stranded. In this article, I'll be going through the steps of changing your bike's tyre using irons like motorcycle tyre levers. First and foremost, put your bike on a stand, remove the valve core and the valve stem locknut. Then, you have to break the bead, which can be quite difficult. You can accomplish this by using motorcycle tyre levers, welding clamps C-clamps or special bead breakers. Once you've broken the first bead, flip the tyre and break the opposite side as well. Once you've broken both beads, the tyre can be removed from the rim. 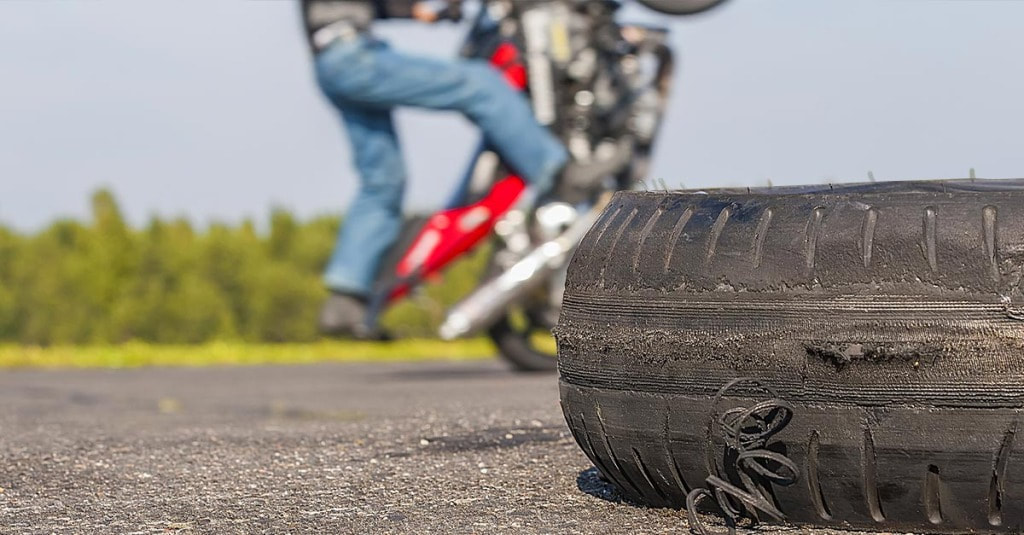 In order to ensure the bead slips away from the rim as easily as possible, lubricate both the rim and the bead. Next, install the rim protectors on the rim on the valve stem side and slip the tyre irons with the hooked end up right under the bead which is located next to the valve stem. Snagging a knuckle on a sprocket or a brake rotor is easy, so you need to be careful if they're still attached to the wheel. Keep a few blowout patches by your side, because leaky knuckles make things slippery.
Next, pry the bead up and over until the entire bead is over the rim. Some people prefer using the flat end of the iron to do so, which can also work. You can even pull the second bead over the rim without irons if you're lucky and reasonably strong, but irons do make the job significantly easier. The thin rubber band found under the tube should prevent the ends of the spokes from chaffing through. Remove the think rubber band, and inspect the rim for damage. Look for cracks between the spoke holes and use a wire brush to clean away any corrosion and rust. Then, find the directional arrow on the tyre and orient it to the rim with rotation in the right direction. Slightly inflate the new tube so that it takes shape, so that it doesn't get pinched by the tyre lever. Put it inside the tyre with the stem next to the tyre's balance mark. Lube the bead and force it over the rim right over the valve-stem hole. Push the tube and run down the locknut a couple of threads so that the stem doesn't slip back. Ensure the balance mark is lined up with the valve stem. Lube the second bead and put it down over the rim by pushing as much of the tyre onto the rim as possible. As you work your way around the rim, the bead my lift itself back. Hold it down with a knee and take small bites with a lever and work your way around. Once you've pushed the tyre onto the rim, inflate is slowly using the appropriate pressure. 
Staying safe when on the road is one of the most important things you must take care of. Regardless of the type and model of bike you have, wearing the right type of gear at the right time is just as important as knowing how to ride a bike. This especially goes when riding in the dark. There is a huge difference between getting some bumps and bruises and having injuries that could be life risky. This is precisely why we have decided to prepare for you a list of the most essential bike safety equipment that can help you stay safe while riding your bike, especially during nighttime.
|
Archives
February 2021
Categories
All
|
 RSS Feed
